LASER SCANNING
Laser Scanning
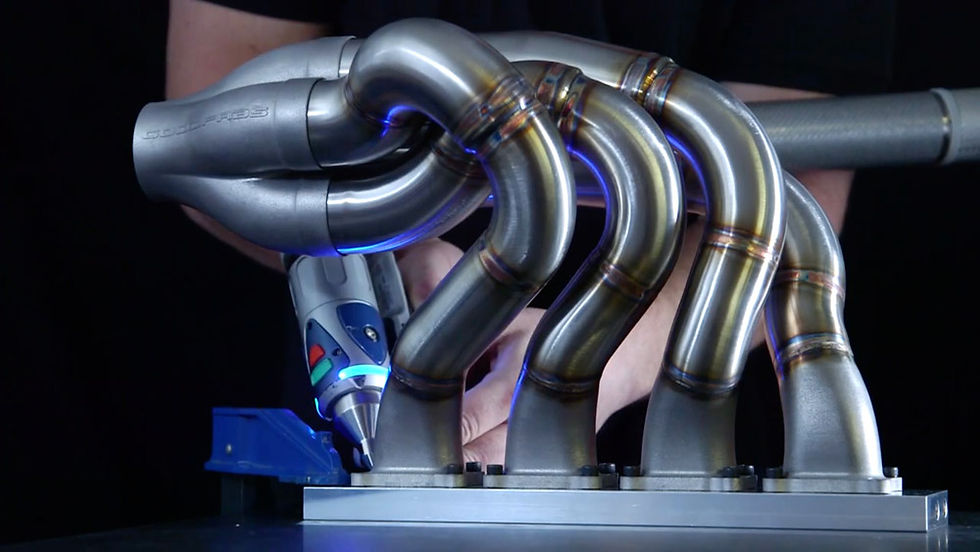
Using the latest FARO Edge arm laser scanning attachment, GoodFabs collects point cloud data on actual fabricated exhaust or machined components.
A detailed colour map showing tiny differences between the CAD model and the fabricated component can be generated with the collected data.
A full inspection report on the deviations produced using PolyWorks software gives a perfect insight for the customer’s engineer to evaluate the tolerances.
Not only are the finished exhausts or machined parts inspected; throughout the full fabrication process, the welding fixtures, inspection fixtures and any in-house machined rings, machined bosses or other components are fully inspected before they are used.
A laser scanning capability enables GoodFabs to deliver high quality, hand-fabricated and welded components of the highest standard.


Laser scanning for inspection with Faro Edge arm

Laser scanning for inspection with Faro Edge arm

Laser scanning for inspection with Faro Edge arm

Laser scanning a DMLS collector with Faro Edge arm

Software report generated from laser scanning with Faro Edge arm

Laser scanning DMLS parts with Faro Edge arm
Laser scanning for inspection with Faro arm
